Create a showcase of your treasures—our brackets make it possible
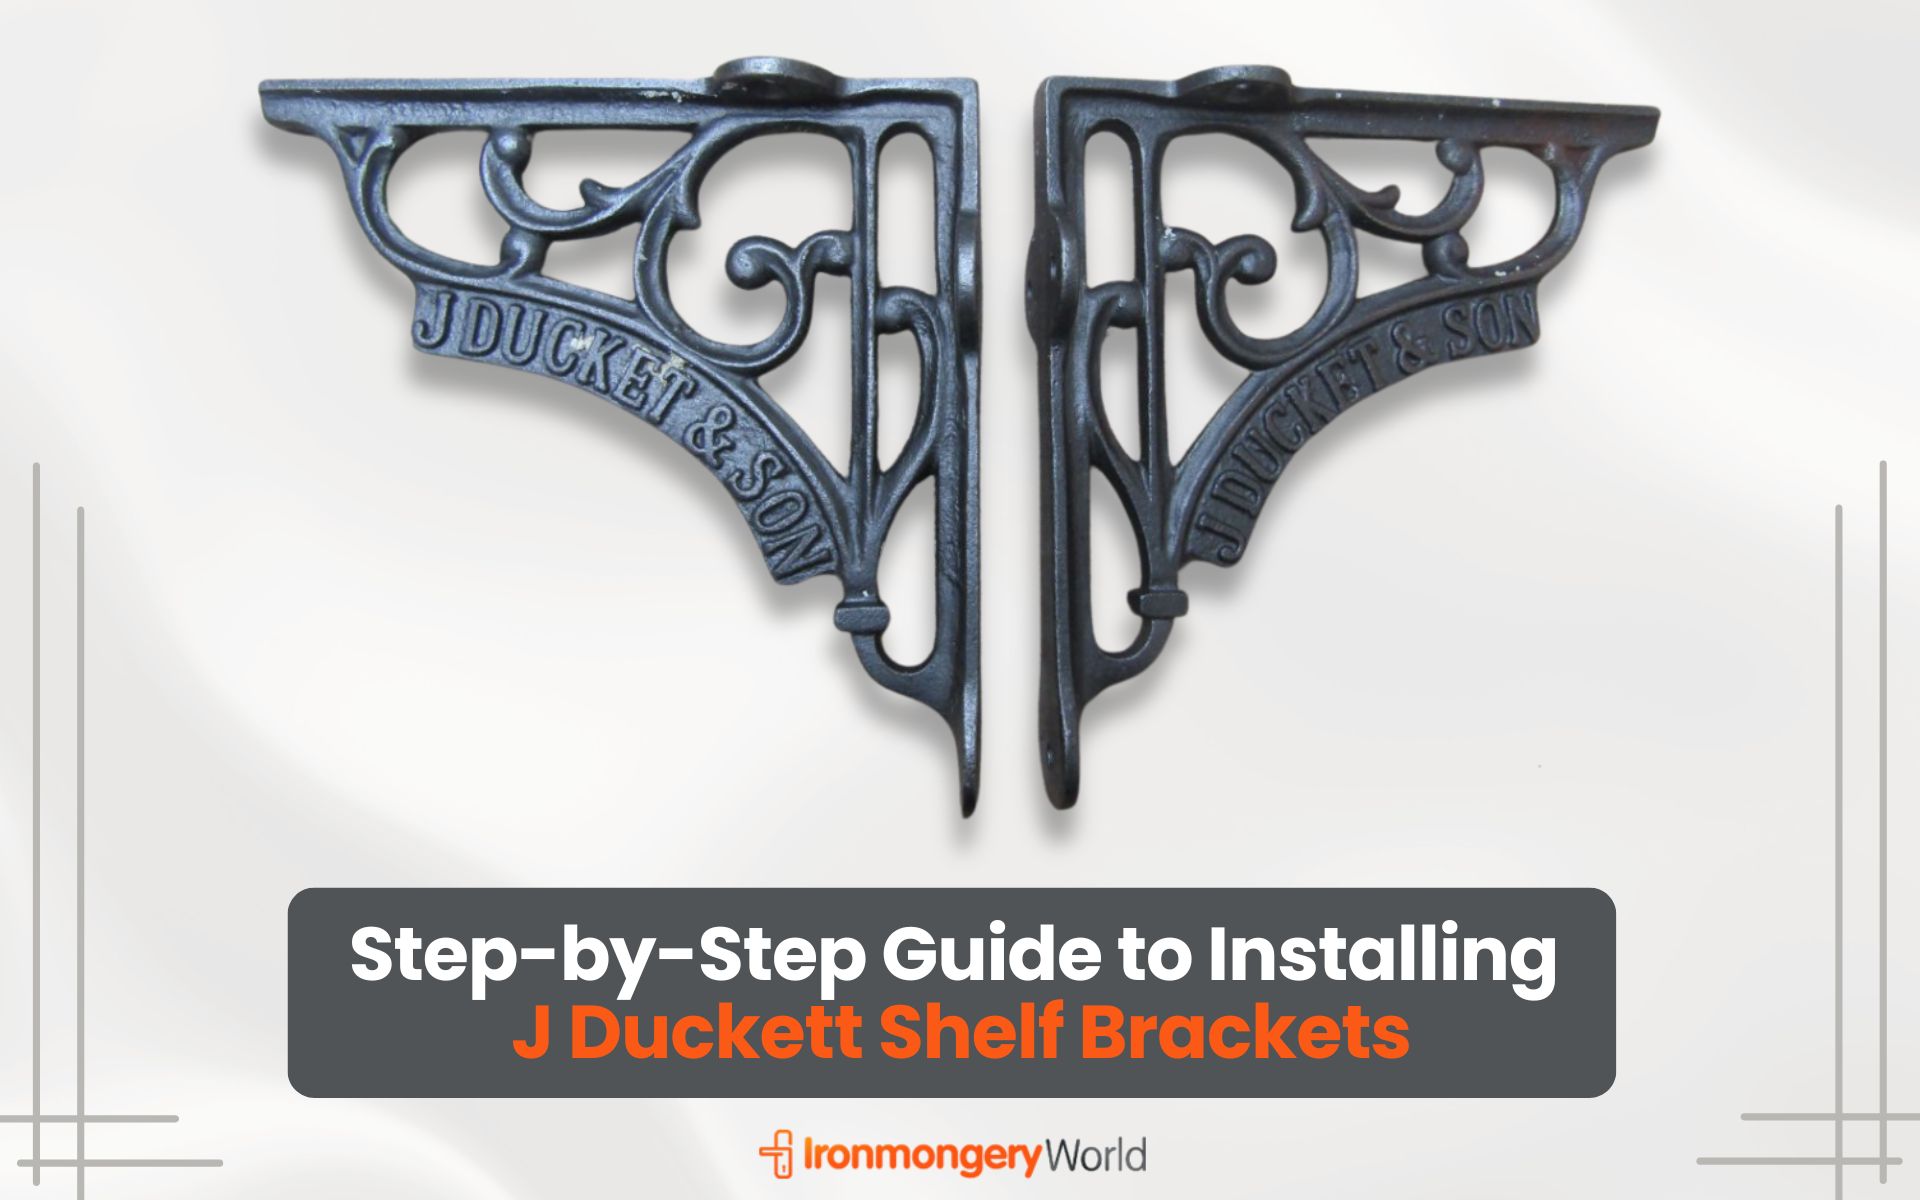
When it comes to home improvement projects, shelf brackets can often feel daunting, yet it creates the perfect opportunity for personalising your space. One of the most popular choices on the market today is the J Duckett shelf bracket, known for its aesthetic appeal and sturdy design. You can get these products from offline and online stores easily. Even more, you will get up to 15% off J Duckett Shelf Brackets, Rope Door Pull Handles, and Postal Door Knocker by the end of September from Ironmongery World. This guide will take you through the entire process of installing these brackets step-by-step, ensuring you achieve a clean, professional look in your home. Ready to transform your walls? Let’s dive into the details!
Understanding J Duckett Shelf Brackets
Before we get to the installation process, it’s essential to understand why you’ve chosen J Duckett shelf brackets.
Why Choose J Duckett Shelf Brackets?
Design Variety: J Duckett brackets come in various styles – from modern and sleek to more traditional looks, allowing you to match your decor flawlessly.
Durability: Made from high-quality materials, these brackets are built to last, providing the support you need for your shelving.
Versatility: Suitable for different types of shelves, whether they’re wood, metal, or glass.
Understanding these qualities can affirm why you selected these brackets for your project.
Gathering Your Materials
Before you start installing, ensure you have all the necessary materials on hand.
Essential Tools and Materials
J Duckett Shelf Brackets: Choose the size and style that fits your needs.
Shelving: Make sure your shelves complement the brackets.
Level: To make sure everything is straight.
Tape Measure: For accurate measurements.
Drill: A power drill will make your job quicker and easier.
Screws: The correct size screws that come with your brackets.
Stud Finder: To locate the wall studs, ensuring a secure installation.
Step-by-Step Installation
Now that you have your materials ready, it’s time to install your J Duckett shelf brackets. Follow these steps to ensure a hassle-free experience.
Step 1: Mark the Wall
Determine Shelf Height: Decide where you want your shelves. Use a pencil to mark the position on the wall.
Measure and Level: Use a level to ensure your markings are straight. If you have multiple shelves, be consistent with your measurements.
Step 2: Locate Wall Studs
Use a stud finder to locate the studs on your wall. Mark these points lightly along your previous pencil marks.
If the walls are not studded where you want to place your brackets, consider using wall anchors for additional support.
Step 3: Install the Bracket
Drill Pilot Holes: At the marked points, drill pilot holes where your screws will go. This will prevent the wall from cracking.
Attach the Bracket: Hold the bracket against the wall, aligning it with the pilot holes you just drilled.
Screw in Place: Using your drill, fasten the screws through the bracket into the wall. Make sure they are snug and secure.
Step 4: Repeat for Additional Brackets
If installing more than one bracket, repeat the above steps for each one, maintaining the same level of alignment.
Use your tape measure and level regularly to ensure everything is straight.
Step 5: Place Your Shelves
Once all brackets are installed, carefully place your shelves on top.
Double-check the level, adjusting if necessary.
Final Touches and Safety Considerations
Now that your brackets and shelves are installed, make sure everything is secure and safe for use.
Check Stability
Gently push down on your installed shelf to ensure it holds weight without wobble.
If any brackets appear loose, backtrack to ensure the screws are tight and installed correctly.
Organize Your Shelves
Add your decor, books, or any items you want on display.
Consider the weight of each item to check overload on your brackets.
Conclusion
Installing J Duckett shelf brackets might seem challenging at first, but by following this step-by-step guide, you can achieve a professional-looking result that enhances your space. Whether you’re a seasoned DIYer or a beginner, these brackets provide the perfect combination of style and functionality. Don’t forget to take your time and double-check quantification for the best results. So, what are you waiting for? Gather your tools and get started on your next home improvement project today!