Erica Johnson said, Delighted with the lovely antique shelf brackets that we purchased. Would definitely buy from Ironmongery World again.
Few things are as versatile as shelves when it comes to home organization and decor. They can hold books, plants, decorations, and even kitchen necessities. However, the stability of your shelves heavily relies on the brackets you use to mount them. In this comprehensive guide, we’ll walk you through installing shelf brackets, ensuring your shelves are attractive and secure.
Why Bracket Selection Matter?
Being choosy about your shelf brackets is crucial for both elegance and functionality. A good bracket not only showcases your shelves but also determines how much weight they can hold. Here’s what you should keep in mind:
1. Material Consideration
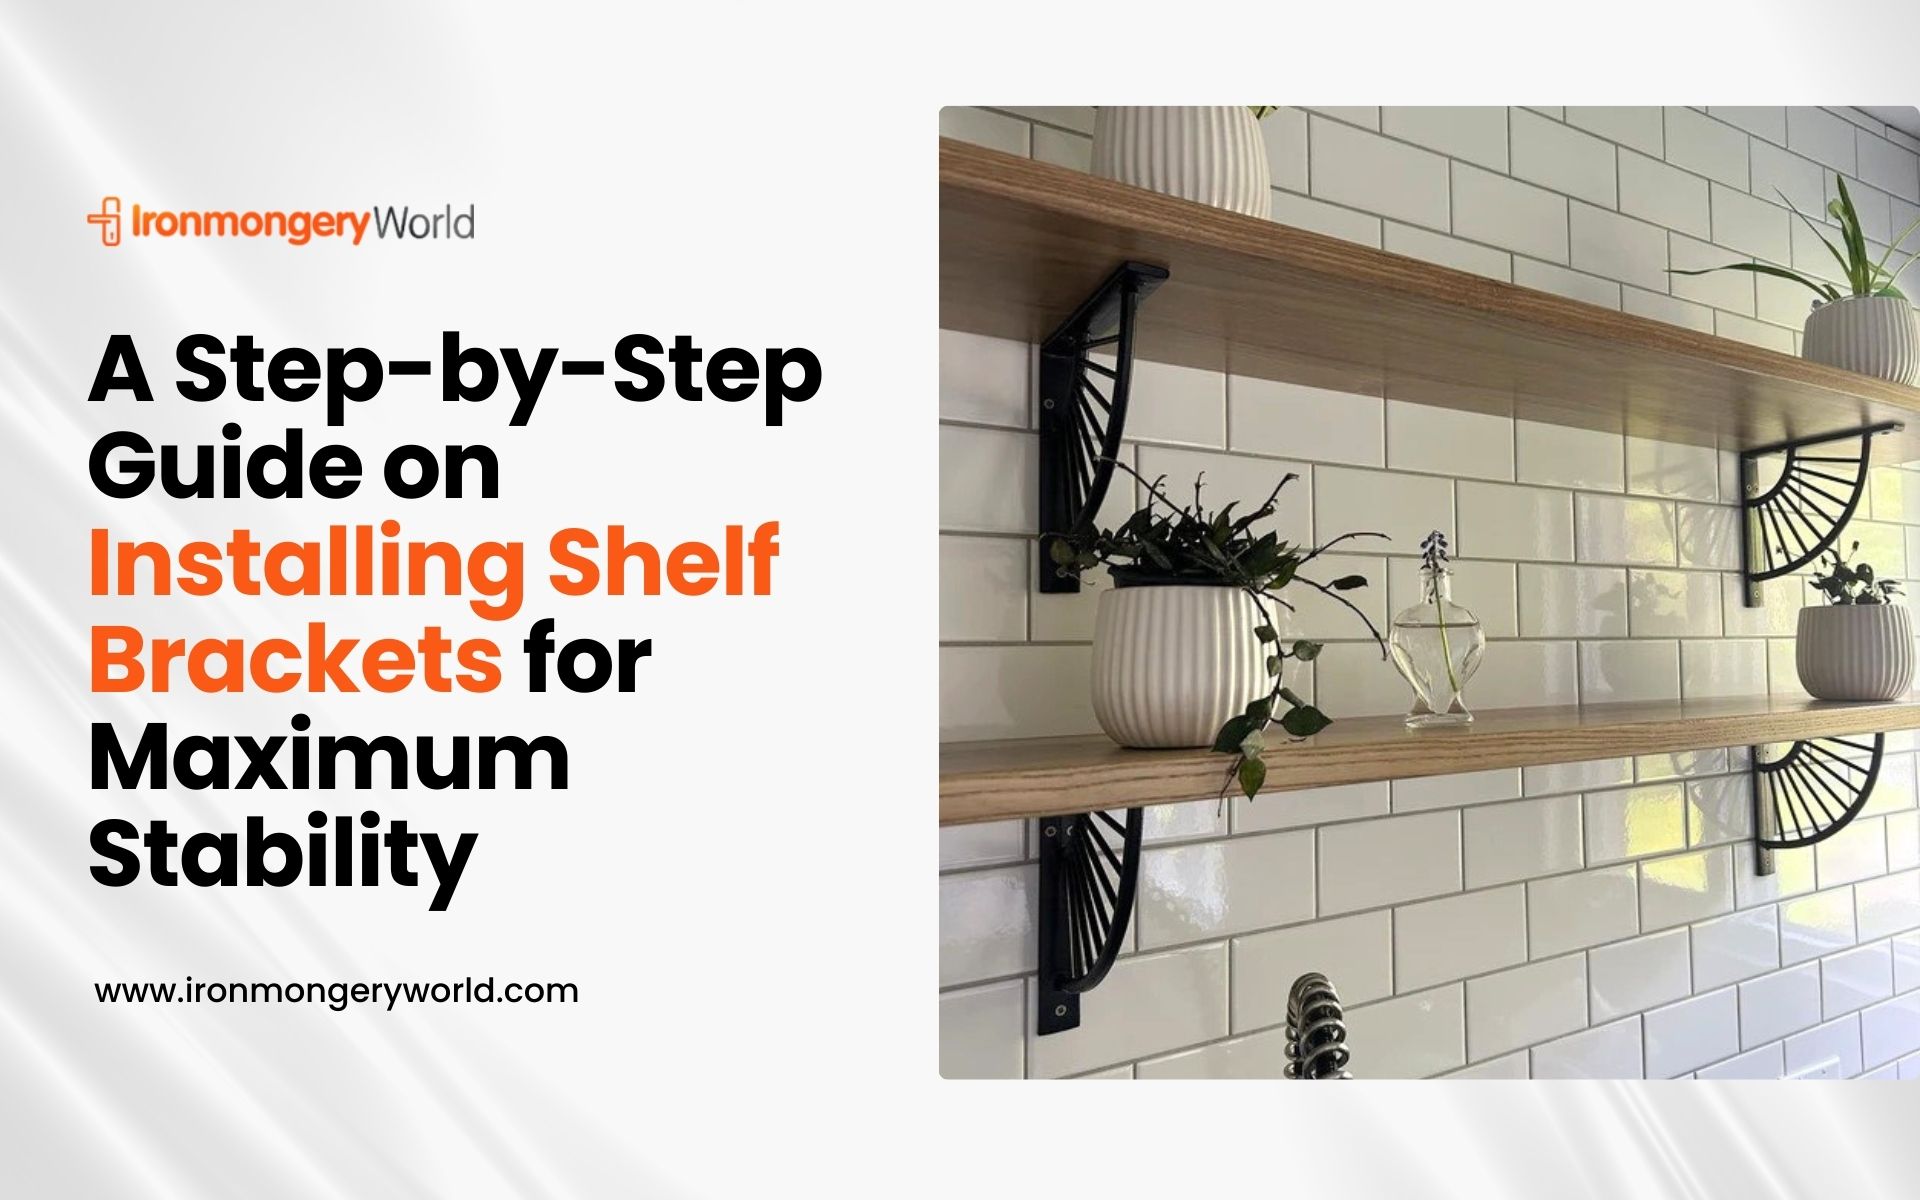
- Metal Brackets: Known for their strength and durability. Ideal for weighty items.
- Wooden Brackets: Elegant and suitable for lighter loads.
- Plastic Brackets: Lightweight and less durable; best for minimal use.
2. Size and Weight Capacity
- Choosing the correct size bracket is key.
- Check the size of the shelf. A longer shelf generally requires a larger bracket.
- Refer to the weight capacity of the bracket, often listed on the packaging.
3. Tools and Materials You’ll Need
Before diving into installation, it’s crucial to gather the right tools and materials. Here’s a comprehensive list:
- Crucial Tools
- Level – for precise horizontal alignment.
- Drill – for making clean holes.
- Screwdriver – to tighten screws securely.
- Tape Measure – to measure distances correctly.
- Stud Finder – to locate wall studs for maximum support.
4. Materials Required
- Shelf brackets (chosen based on your shelf size)
- Screws (should match the bracket specifications)
- Wall anchors (if not mounting into studs)
5. Step-by-Step Installation Guide
Once you’ve selected your brackets and gathered your tools, it’s time to get to work. Follow these straightforward steps to ensure your shelves are securely installed.
- Measure and Mark
Using your tape measure, decide where you want your shelves to go. Mark the spot lightly with a pencil. Consider using a level here to ensure your marks are perfectly horizontal.
- Locate the Studs
For maximum stability, always mount your brackets into wall studs. Use your stud finder to locate them. If you’re unable to hit a stud, remember to use wall anchors for additional support.
- Drill Holes
Once you’ve marked the locations, drill holes at the marked points. If you’re using anchors, make sure to drill accordingly to accommodate them.
- Install Brackets
Now, it’s time to attach your brackets:
Hold the bracket against the wall, aligning it with the holes. Secure the bracket using screws. If using wall anchors, insert them before adding your screws. Use a level to ensure that the bracket is straight as you tighten the screws.
- Repeat the Process
If you’re installing multiple brackets, repeat steps 1-4 for each one, ensuring they’re level with each other.
- Place the Shelf
Finally, once you’re satisfied with the brackets’ installation, simply place your shelf on top. Give the shelf a slight push to ensure it’s secure.
- Tips for Maximum Stability
Use brackets that are rated for heavier items if you plan to store anything substantial. For long shelves, consider adding extra brackets in the center for increased support. Periodically check the brackets and screws to ensure they haven’t loosened over time.
Final Thoughts
Installing shelf brackets may seem tricky at first, but with the right tools and techniques, you can turn a simple DIY task into a satisfying home improvement project. Whether you’re organizing your books, showcasing your potted plants, or displaying family photos, stable shelves will ensure everything stays exactly where you want it. Ready to start your shelving project?
Gather your materials and dive in, you’ll be amazed at how much more organized and stylish your space can become. Share your newly installed shelves with us in the comments below or on social media! By following this guide, you can create functional and stable shelving that suits your style. Happy shelving!
